Lembas Bread from Lord of the Rings: Honey Recipe
- Time: 15 min active + 15 min baking = Total 30 mins
- Flavor/Texture Hook: Velvety honey glaze with a dense, buttery crumb
- Perfect for: Movie marathons, themed parties, or a cozy afternoon tea
Lembas Bread from Lord of the Rings Recipe with Honey
The smell of warm cinnamon and toasted honey hitting the air is a sensory trigger that immediately takes me back to rainy October afternoons. I remember the first time I tried to make something "Elven" in my tiny apartment, using whatever I had in the pantry and hoping for the best.
It was a disaster, honestly, just a pile of sweet crumbs that didn't hold together. But that failure taught me that the secret isn't in the fancy ingredients, it's in how the fat and sugars interact to create that signature sturdy yet-tender bite.
This isn't your average cookie or a standard scone. It's designed to feel like something a traveler would carry across Middle earth, but with the comforting warmth of a home kitchen. By using honey as the primary sweetener, we get a depth of flavor that granulated sugar just can't touch.
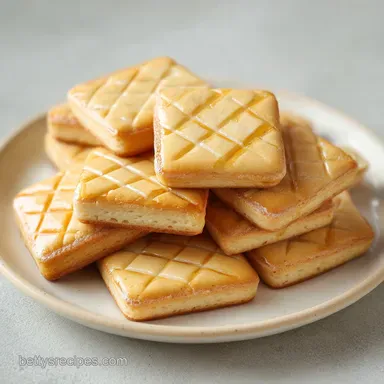
This is the ultimate Lembas Bread from Lord of the Rings Recipe with Honey, and it's all about balancing that floral sweetness with a hint of nutmeg and cinnamon.
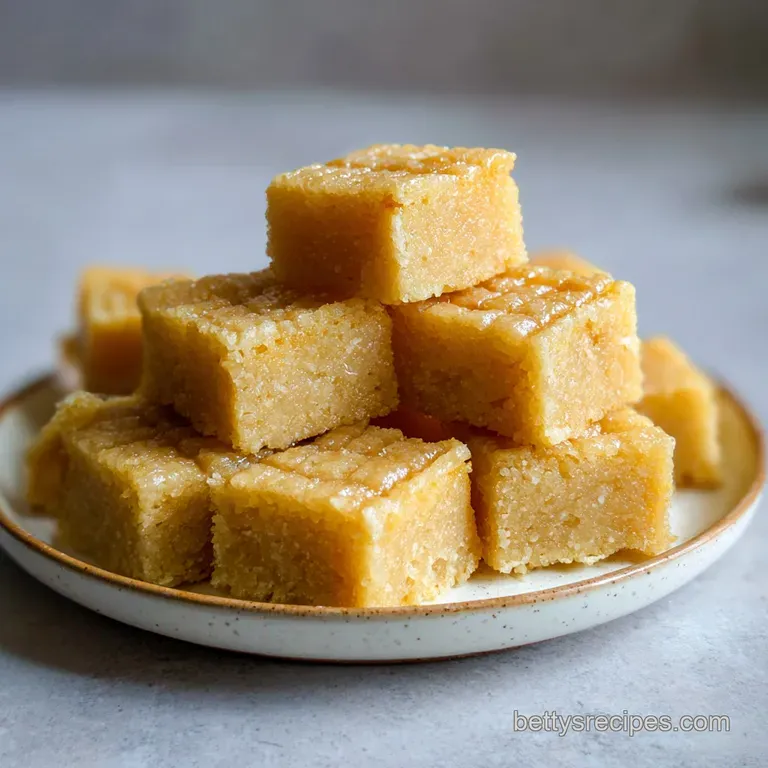
You can expect a treat that is dense, satisfying, and has a beautiful, slight shimmer from the glaze. It doesn't shatter like a cracker, but it doesn't crumble like cake either. It's a middle ground texture that feels intentional and hearty.
Whether you're serving this to a group of fellow nerds or just treating your family to something special, this recipe delivers a nostalgic, homemade feel that makes every bite feel like a little piece of magic.
The Secret to the Texture
I've spent a lot of time wondering why some honey based bakes turn out gummy while others stay tender. It turns out it's all about how the honey binds with the flour and the temperature of your butter.
Moisture Retention: Honey is hygroscopic, meaning it attracts and holds onto water. This keeps the bread from drying out in the oven, giving it that velvety interior.
Butter Pockets: Using chilled, cubed butter creates tiny steam pockets during baking. This prevents the bread from becoming a solid brick and adds a subtle flakiness.
Low Lift: By keeping the baking powder minimal, we avoid a fluffy cake texture. This ensures the bread remains dense and hearty, just like traditional waybread should be.
| Method | Time | Texture | Best For |
|---|---|---|---|
| Classic Honey | 30 mins | Velvety & Dense | Authentic feel |
| Syrup Shortcut | 25 mins | Softer & Sweeter | Quick cravings |
| Vegan Swap | 35 mins | Crumbly & Nutty | Dietary needs |
The way the fats interact here is similar to a shortbread, but the honey adds a layer of complexity. If you're interested in other ways to use fermented flavors for a savory contrast, you might love my Crackers in 25 Minutes recipe, which uses a completely different structural approach to get a sharp, crispy result.
A Deep Dive into Ingredients
Understanding what each part of this recipe does helps you avoid those "why did this happen?" moments in the kitchen. It's not just about following a list, it's about knowing the role of the hero ingredients.
| Ingredient | Science Role | Pro Secret |
|---|---|---|
| Unsalted Butter | Structure & Fat | Keep it ice cold to ensure the crumb stays tender |
| Honey | Humectant & Flavor | Use a wildflower variety for a more complex, floral note |
| All Purpose Flour | Gluten Framework | Weigh your flour for consistency, as cups vary wildly |
| Heavy Cream | Fat Emulsion | Room temperature cream blends more smoothly into the dough |
Essential Baking Gear
You don't need a professional kitchen to pull this off, but a few specific tools make the process much smoother. I've found that using a pastry cutter is a lifesaver here, though a sturdy fork works in a pinch.
For the base, you'll need a large mixing bowl and a parchment lined baking sheet. The parchment is non negotiable, as the honey glaze can get a bit sticky if it drips. A rolling pin and a sharp knife for scoring the "X" are also essential for that iconic Elven look.
The step-by-step Process
Right then, let's get into the actual making. Trust me on this: don't overwork the dough. The more you mess with it, the tougher the bread becomes.
Mixing the Base
- Combine the flour, baking powder, salt, cinnamon, and nutmeg in a large mixing bowl. Note: Whisking these first ensures no cinnamon clumps appear in the final bread.
- Cut in the chilled butter using a pastry cutter or fork until the mixture resembles coarse sand.
- Stir in the honey and heavy cream until a stiff, cohesive dough forms. Note: If it feels too dry, add one extra teaspoon of cream.
Shaping the Waybread
- Roll the dough out on a floured surface to a thickness of 3/4 inch (2cm). Note: Keep it even so they bake at the same rate.
- Cut the dough into 3 inch (7.5cm) squares.
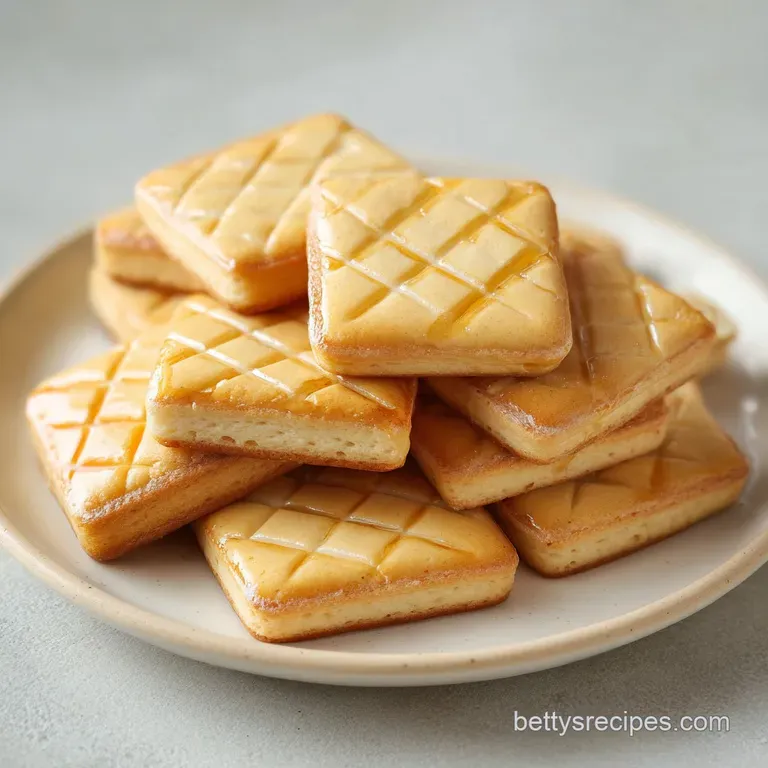
- Use a knife to lightly score a large 'X' across the top of each square, without cutting all the way through.
Baking and Finishing
- Place squares on a parchment lined baking sheet and bake at 350°F (175°C) for 12–15 minutes until edges are pale gold.
- Whisk the glazing honey and warm water together in a small bowl.
- While the bread is still hot, lightly brush the honey glaze over the top of each square. Note: The heat allows the glaze to soak in rather than just sitting on top.
Chef's Note: For a truly professional finish, freeze your butter for 10 minutes before cubing it. This ensures the fat stays solid longer, which is the key to that specific, non cakey texture.
Solving Common Baking Issues
Baking with honey can be tricky because it browns faster than sugar. I've had batches where the edges were burnt before the center was set, simply because the oven was a few degrees too hot.
Why Your Dough is Sticky
If your dough is sticking to your fingers, it's usually because the butter softened too much during the mixing process. You can fix this by popping the dough in the fridge for 15 minutes before rolling it out.
Preventing Over Browning
Since honey caramelizes quickly, keep a close eye on the clock. If you see the edges turning dark brown too fast, tent the tray with foil for the last 3 minutes of baking.
Fixing a Dry Crumb
If the bread feels too dry, you likely over measured your flour. According to King Arthur Baking, using a scale is the only way to be 100% sure of your flour weight.
| Problem | Root Cause | Solution |
|---|---|---|
| Bread is too hard | Over mixed dough | Mix until just combined; don't knead |
| Glaze is too thin | Too much water | Simmer glaze for 2 mins to thicken |
| Dough spreads | Butter was too warm | Chill dough before baking |
Common Mistakes Checklist:
- ✓ Butter was chilled and cubed, not softened.
- ✓ Dough was rolled to exactly 3/4 inch thickness.
- ✓ Flour was measured by weight or scooped gently.
- ✓ Glaze was applied while the bread was still hot.
- ✓ Oven was preheated to exactly 350°F (175°C).
Easy Flavor Variations
While the classic version is a winner, I love playing with the ingredients to suit the mood. If you want something a bit more indulgent, you can try stuffing the centers with a dollop of Healthy Homemade Nutella before baking.
Adding Floral Notes
Swap the honey for orange blossom honey or acacia honey. This changes the scent profile and makes the bread feel a bit more "ethereal" and light.
Enhancing the Spice
If you love a warmer flavor, add a pinch of ground ginger or cardamom to the dry mix. It adds a subtle zing that cuts through the richness of the butter.
Making it Vegan
You can substitute the butter with chilled coconut oil and the cream with full fat coconut cream. Note: The texture will be slightly more crumbly and will have a faint coconut aroma.
Decision Shortcut: If you want more depth → Use dark buckwheat honey. If you want a softer bite → Increase heavy cream by 1 tbsp. If you want a crispier edge → Bake for a full 15 minutes.
Storage and Waste Tips
Since these are meant to be "travel bread," they keep remarkably well. However, the honey glaze can make them tacky if stored incorrectly.
Store the cooled squares in an airtight container at room temperature for up to 5 days. If you're planning to keep them longer, they freeze beautifully for up to 3 months. Just wrap them individually in parchment paper first to prevent them from sticking together.
To reheat, pop them in a toaster oven for 2-3 minutes. This brings back that buttery aroma and makes the glaze sizzle slightly, giving them a fresh out-of the-oven feel.
For zero waste, don't throw away the leftover honey glaze in your bowl. Stir in a bit of cinnamon and drizzle it over Greek yogurt or oatmeal the next morning. It's a great way to use up every drop of that floral sweetness.
Best Pairing Suggestions
These are rich and sweet, so they pair best with things that provide a sharp or bitter contrast. A strong, black tea or a dark roast coffee is the gold standard here. The bitterness of the caffeine balances the honey perfectly.
If you're serving these as part of a larger spread, pair them with fresh berries or sliced green apples. The acidity of the fruit cuts through the butter, refreshing your palate between bites.
For those who want a savory side to balance the meal, I highly recommend serving these alongside some salty nuts or a sharp cheddar cheese.
Another great pairing is a wedge of brie. The creaminess of the cheese combined with the spiced honey of the bread creates a flavor profile that feels genuinely sophisticated without requiring any extra effort. Just lay them out on a wooden board with some grapes, and you've got a feast fit for a Hobbit.
Recipe FAQs
How long does the bread stay fresh?
Up to 5 days at room temperature. Store the cooled squares in an airtight container to prevent them from drying out.
Can I freeze the squares?
Yes, they freeze for up to 3 months. Wrap each square individually in parchment paper before freezing to stop them from sticking together.
How to create the traditional 'X' mark?
Lightly score a large 'X' across the top with a knife. Be careful not to cut all the way through the dough before baking.
How to reheat the bread?
Warm in a toaster oven for 2-3 minutes. This restores the buttery aroma and makes the honey glaze sizzle.
Is it true that this recipe requires yeast to rise?
No, this is a common misconception. This recipe uses baking powder to achieve a dense, sturdy "travel bread" texture without needing to proof.
How to keep the texture tender?
Cut in the chilled butter using a pastry cutter or fork. Stop once the mixture resembles coarse sand to avoid overworking the flour.
Can I substitute honey with maple syrup?
Yes, it provides a similar sweetness. If you enjoy using maple in your baking, you might also like our maple cookies.
Honey Lembas Bread Recipe