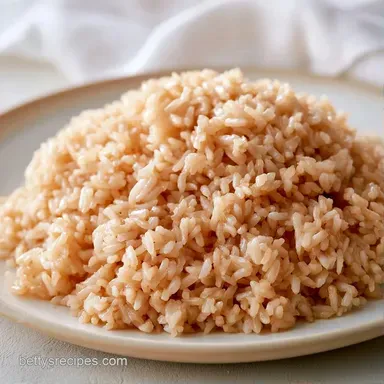
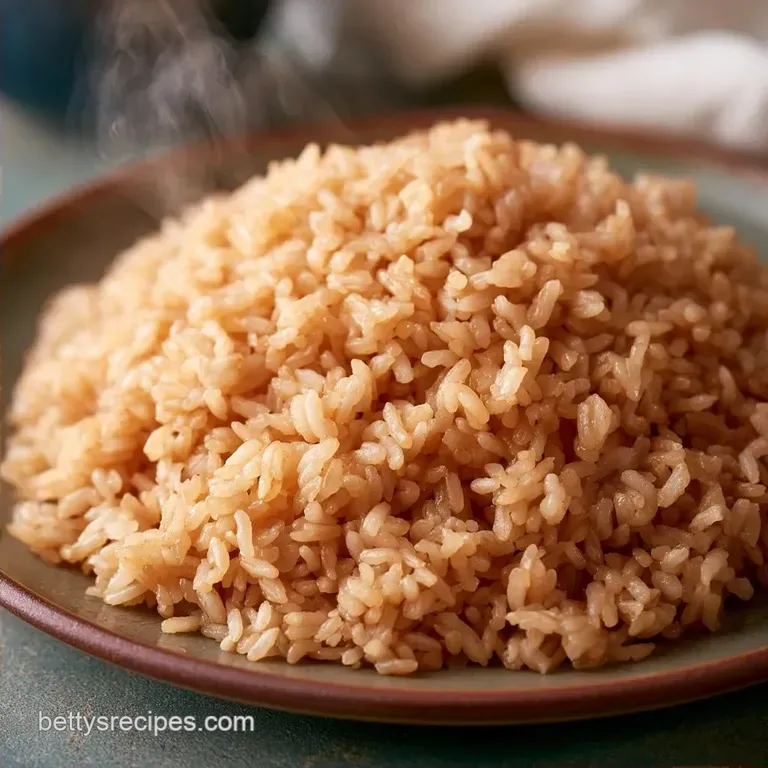
Instant Pot Brown Rice: Fluffy and Nutty
- Time: 5 min active + 24 min cook + 10 min NPR
- Flavor/Texture Hook: Chewy, nutty, and fluffy
- Perfect for: Healthy weeknight sides or batch meal prep
- Instant Pot Brown Rice Specs
- Why the Texture Works
- What Each Ingredient Does
- Gathering Your Essentials
- Equipment You'll Need
- Step-by-Step Instructions
- Troubleshooting Common Errors
- Creative Twists and Swaps
- Scaling Your Batch
- Rice Cooking Myths
- Storage and Freshness Tips
- Best Side Dish Pairings
- Recipe FAQs
- 📝 Recipe Card
Hiss... that's the sound of the steam vent releasing. If you've tried making brown rice in a pressure cooker before, you know the frustration of opening the lid to find a gummy, overcooked porridge. Or worse, you find grains that are still hard in the center because you vented the pressure too quickly.
It's a frustrating cycle. Brown rice has a tough outer bran layer that needs a specific amount of heat and moisture to soften without collapsing. If the ratio is off by even a tiny bit, the whole pot suffers.
This approach fixes those issues by focusing on a precise water to rice ratio and a mandatory resting period. You'll get Easy Instant Pot Brown Rice that actually tastes like it came from a professional kitchen, not a science experiment gone wrong.
Instant Pot Brown Rice Specs
When you're prepping a batch, precision is your best friend. For this version, we use an Instant pot brown rice 2 cups measurement, which provides plenty of servings for a family or a few days of lunches. The total time comes to 39 minutes, but you're only actually working for 5 of those.
The goal here is a grain that has a slight bite to it. You want it tender but not collapsing. By keeping the water at exactly 2.5 cups for 2 cups of rice, we avoid the excess moisture that usually leads to that dreaded "mush" factor.
Why the Texture Works
The way pressure cooking handles brown rice is different from the stovetop. Because the pot is sealed, the water can't evaporate, meaning we use less liquid than you'd find in a traditional pot.
The Bran Barrier: High pressure forces moisture through the tough outer hull of the grain much faster than simmering. Natural Release: Letting the pressure drop slowly allows the remaining steam to finish cooking the core of the grain without blowing the starch out.
The Brown rice Instant Pot ratio used here is carefully calibrated. If you add too much water, the grains burst. Too little, and you'll get a "Burn" notice on your screen.
| Method | Time | Texture | Best For |
|---|---|---|---|
| Stovetop | 45-50 mins | Softer | Small batches |
| Instant Pot | 39 mins | Chewy/Distinct | Meal prep |
What Each Ingredient Does
Before we jump into the pot, it helps to know why we aren't just using rice and water. Each addition serves a specific purpose to stop the grains from sticking together.
| Ingredient | What It Does | Best Swap |
|---|---|---|
| Long grain Brown Rice | Provides the nutty base | Brown Basmati |
| Water | Hydrates the bran | Vegetable broth |
| Olive Oil | Coats grains to prevent sticking | Unsalted butter |
| Sea Salt | Enhances the natural nuttiness | Coconut aminos |
Gathering Your Essentials
I always suggest using a long grain variety for this. Short grain brown rice has more starch and tends to get stickier, which is great for some dishes but not for a fluffy side.
- 2 cups (400g) long grain brown rice Why this? Holds shape better than short grain varieties.
- 2 ½ cups (600ml) water Why this? Precise ratio to prevent gummy results.
- 1 tbsp (15ml) olive oil Why this? Keeps grains separate and adds a slight sheen.
- ½ tsp (3g) fine sea salt Why this? Pulls out the earthy flavor of the bran.
| Original Ingredient | Substitute | Why It Works |
|---|---|---|
| Water | Chicken or Veg Broth | Similar liquid ratio. Note: Adds savory depth |
| Olive Oil | Butter | Similar fat content. Note: Richer, creamier taste |
| Long grain Rice | Brown Basmati | Similar cook time. Note: More aromatic |
Equipment You'll Need
You don't need a lot of gear for this, but a few tools make the process cleaner.
- Instant Pot: Any size will work, though a 6 quart is standard.
- Fine mesh strainer: This is the only way to properly rinse the rice without losing grains down the drain.
- Fork: Use this for fluffing instead of a spoon to avoid smashing the grains.
Step-by-step Instructions

Follow these steps closely. The timings are specific to ensure the core of the grain is fully cooked.
- Place the rice in a fine mesh strainer and rinse under cold running water for 30-60 seconds. Scrub the grains gently with your hand until the water runs clear. Note: This removes surface starch that causes clumping.
- Add the rinsed rice, water, olive oil, and salt to the inner pot. Stir once to ensure the rice is evenly submerged.
- Secure the lid and turn the steam release valve to the 'Sealing' position.
- Select Manual or Pressure Cook on High Pressure and set the Brown rice Instant Pot time for 24 minutes.
- Once the timer beeps, allow the pot to sit undisturbed for a 10 minute Natural Pressure Release (NPR).
- Carefully vent any remaining steam by turning the valve to 'Venting'.
- Open the lid and use a fork to gently fluff the rice, lifting from the bottom to incorporate any remaining moisture.
Troubleshooting Common Errors
Even with a plan, things can go sideways. The most common issue is the "Burn" notice. This usually happens if the rice wasn't stirred in or if there's a piece of rice stuck to the bottom of the pot before the water boiled.
If your rice comes out mushy, you've likely used too much water or skipped the rinse. Rinsing is not optional here; that surface starch is exactly what turns your rice into a gluey mass.
If the core is still hard, you probably did a "Quick Release" instead of waiting for the 10 minute NPR. The rice needs that resting time to finish absorbing the steam.
| Problem | Root Cause | Solution |
|---|---|---|
| Burn Notice | Not enough liquid or residue | Add 1/4 cup water; stir well |
| Mushy Grains | Too much water or no rinse | Reduce water by 2 tbsp next time |
| Hard Centers | Quick released too early | Always wait 10 mins for NPR |
Creative Twists and Swaps
Once you've got the base down, you can change the flavor profile. I love swapping the water for full fat coconut milk and a pinch of sugar for a tropical vibe. This version is a great base for an Instant Pot Chickpea Curry, where the nutty rice absorbs the curry sauce.
If you're using Instant Pot brown basmati rice, you can usually shave 2 minutes off the cook time. For those using a Quick cook brown rice Instant Pot variety (pre steamed), drop the time to about 5-8 minutes, as those grains are already partially hydrated.
Scaling Your Batch
If you're wondering how to cook 1 cup of brown rice in Instant Pot, just halve everything. Use 1 cup rice and 1 ¼ cups water. The cook time stays at 24 minutes, but your NPR might be slightly faster.
When doubling the recipe (4 cups rice), don't just double the water. I've found that liquids don't evaporate as much in larger batches. Use 4 ½ cups of water instead of 5 to keep the texture from getting too soft.
Rice Cooking Myths
Some people think you should soak brown rice overnight. While this can reduce cook time by a few minutes, the pressure cooker handles the bran layer so efficiently that soaking is unnecessary.
Another myth is that you should stir the rice after it cooks. Avoid this. Stirring while the rice is steaming can break the grains. Only fluff with a fork once the pressure is fully released.
Storage and Freshness Tips
Store your leftover Pot Brown Rice in an airtight container in the fridge for up to 4 days. To reheat, add a teaspoon of water and microwave it covered; this creates a steam chamber that restores the moisture.
For long term storage, freeze the rice in portions. It lasts about 3 months in the freezer. I actually prefer frozen brown rice for making Egg Fried Rice because the freezing process dries out the grain just enough to prevent clumping in the pan.
To avoid waste, use any leftover rice for a breakfast porridge. Simmer it with a bit of milk and cinnamon in a small pot for 5 minutes.
Best Side Dish Pairings
This Instant Pot Brown Rice is a neutral, earthy base that balances heavy flavors. It works brilliantly with grilled salmon or a roasted cauliflower steak.
If you want something heartier, pair it with a slow cooked beef stew. The chewiness of the rice stands up well to thick sauces, unlike white rice which can disappear into the gravy. For a light lunch, toss the cooled grains with lemon, parsley, and feta for a quick grain bowl.
Recipe FAQs
How to make perfect brown rice in an Instant Pot?
Rinse the rice in a fine mesh strainer and cook on high pressure for 24 minutes. Allow for a 10-minute natural pressure release before fluffing the grains with a fork.
How long do you cook brown rice in the instant rice cooker?
Set the timer for 24 minutes on high pressure. You must follow this with a 10-minute natural pressure release to ensure the rice is fully tender.
How to cook brown rice for diabetics?
Rinse the grains thoroughly to remove excess surface starch. Use the standard 24-minute pressure cook method to ensure the rice is completely cooked and digestible.
Does the rice button on an Instant Pot work for brown rice?
No, use the Manual or Pressure Cook setting instead. Preset buttons vary by model and often fail to provide the exact 24 minutes needed for long grain brown rice.
Which single recipe adds the most value to your instant pot?
Versatile staples like brown rice. It serves as a nutritious base for many meals; if you enjoy this bulk prep technique, see how we use similar efficiency in our bean and cheese burritos.
What are some great Instant Pot 3qt recipes?
Small batch sides and grains. This 6-serving brown rice recipe is an ideal fit for 3qt models as it utilizes the space without overflowing.
Why is my brown rice still hard in the center?
You likely performed a quick release. The grains require the full 10-minute natural pressure release (NPR) to finish absorbing moisture into the core.
Instant Pot Brown Rice